Saturday Watercolor Painting 101 Classes are OPEN
Break away from your weekly grind. Experience the joys of being creative in a real art studio.
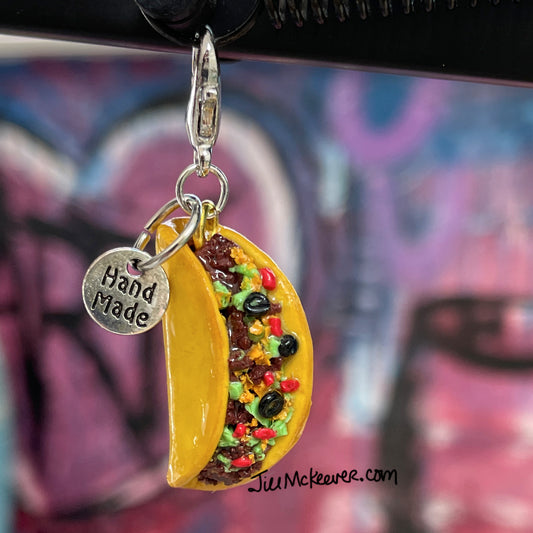
Did someone say tacos?
Suitable for All Diets. Made in a Texas studio where creativity and joy are processed.
-
 Sold out
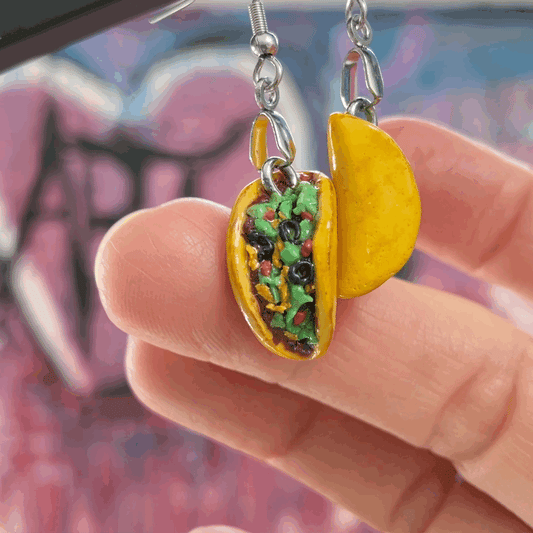
Classic Taco Earrings
Regular price $ 30.00 USDRegular priceUnit price per -
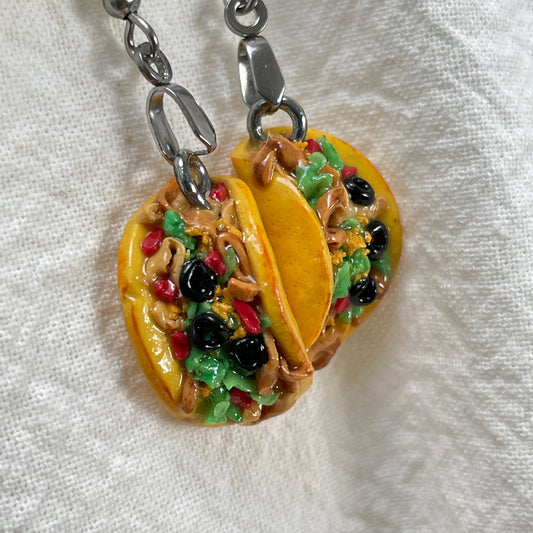
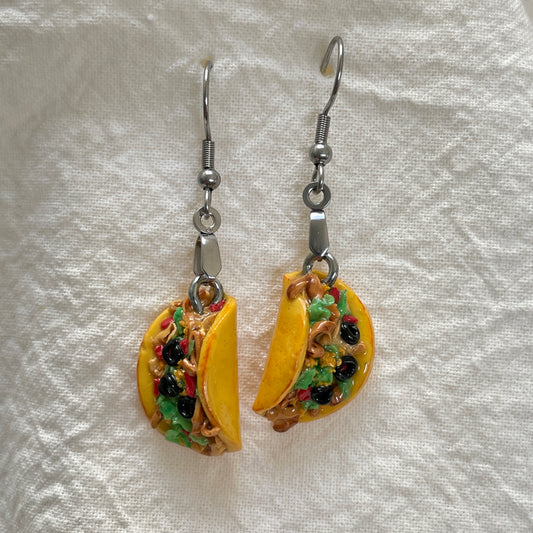
Soy Curl Taco Earrings
Regular price $ 30.00 USDRegular priceUnit price per -
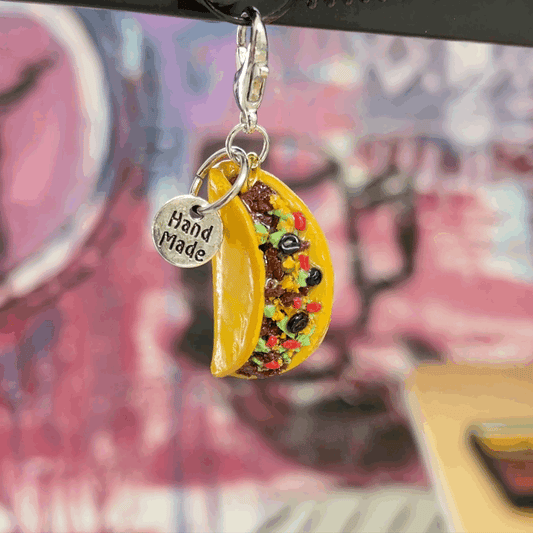
Hand Sculpted Taco Charm
Regular price $ 15.00 USDRegular priceUnit price per


-
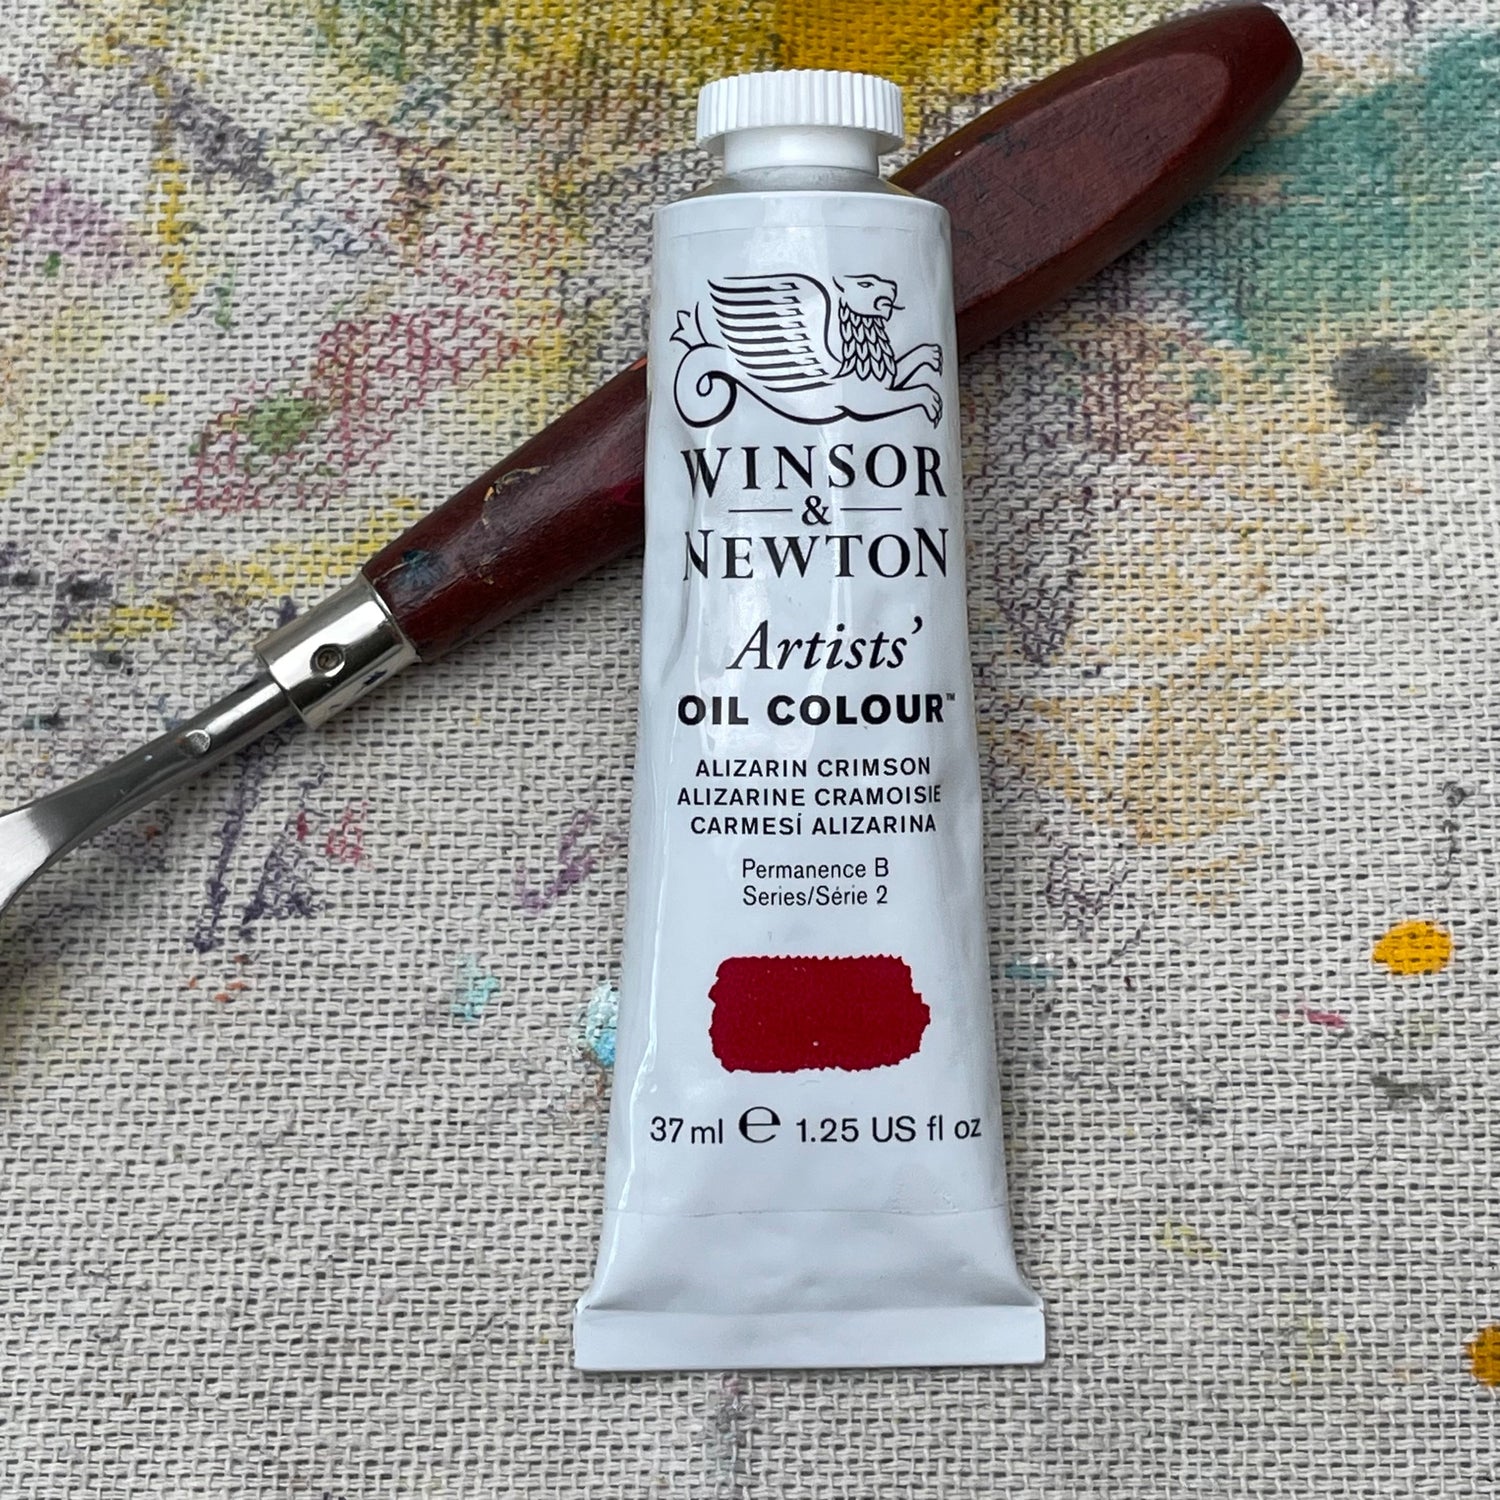
Surplus Art Supplies
Surplus art supplies from Jill McKeever Studio.
-

Hand Sculpted Charms & Earrings
All handmade, no molds, every one is a unique, miniature work of...

